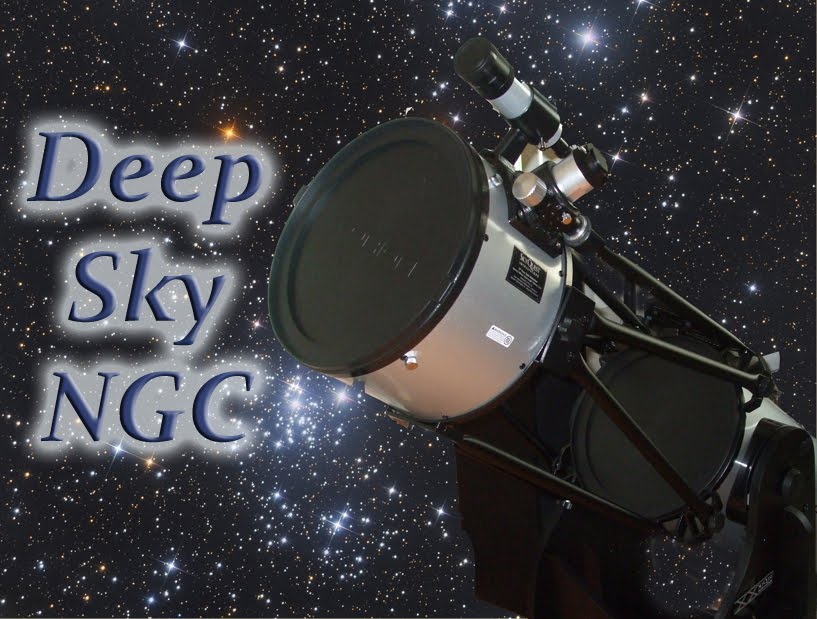
The fully assembled Orion XX12i, ready for first light.
As much fun as it was to unpack and assemble the scope, getting it outside at night was the moment I was awaiting. First light turned into a star party, as I chose to set up on a neighbour's farm. Randy, Deb and I were the only ones present who had ever looked through a telescope. We had five others present, and they got quite a show. I had no idea how to use a Dob, so Randy did the honours, pointing the mirror at showpiece after showpiece. I was pleased with the views I got (when it was my turn), and knew good things were in store. The newbie astronomers were blown away by the views they had of the double double in Lyra, Albireo, the Ring Nebula, and various gloriously resolved globular clusters.
To compensate for losing my equatorial mount, I had ordered a scope with "push to" capability. It is not a "go to." You have to physically move the scope from object to object. A quick and easy two star alignment is required, and then, after following the arrows on the small keypad computer, "voila," the requested object appears in the eyepiece. As I was convinced that star hopping would prove too difficult, I was planning on using the computer option to navigate the sky.
I was wrong on the star hopping. Turns out it is pretty easy after all (see my entries on planning an observing session). I usually use the computer (which runs on a single 9-volt battery) to get started, then switch to my tried and true method of star hopping. The scope itself handles like a dream. It is perfectly balanced at all times and with any eyepiece, something I could never brag about with the old equatorial scope. Movement of the tube is so smooth that zig-zagging seems like straight motion. The precision of the 2-speed focusser is one of its best features.
The best part of owning this scope is its portability. I can set it up myself in the field in 15 minutes and be ready to observe. This includes aligning the finderscope, which must be done each time. Getting the computer up and running with the two-star alignment takes less than 2 minutes, and getting to the first object of the session requires less than a minute after that. Taking things apart in the dark is easy, and from observing the night's last object to driving off in my vehicle all packed up takes fifteen minutes.
The scope came with three eyepieces and a 2x shorty Barlow lens. The 25mm 1 1/4" Epic 11 ED is actually quite good, giving excellent colour results. The outside areas of the field are blurry, however. The 10 mm eyepiece is adequate for now, a mid-range Plossl. I have already split some mighty close double stars with it. The 2" eyepiece is very basic, but I like it nonetheless. It gives 43x, meaning that most of the large clusters fit inside nicely. However, I mostly use the 25mm (60x/120x) and the 10 mm (150x and 300x), as well as a number of my older eyepieces I had used with the previous scope. I recently ordered another Epic 11, this time a 15mm which will give me 100x/200x.
Having used the scope since October 2012, I am now totally comfortable with it and contemplating a long trip, taking it somewhere with a really dark sky. Below is a link to the scope on the Orion website, if you want a closer look at the stats. I have no trouble recommending it to anyone looking to bump up from a 6" or 8". If you already have a 10" and are looking to bump up, then I recommend the 14". Had I known what I know now about portability, I would have purchased the 14." The 16" is portable, too, but too much scope for me right now. Maybe someday.
Mapman Mike


